
If you’ve taken a look at some of my other Notion tutorials, you’ll know I’m a big fan of the platform. I’m constantly annoying my friends by suggesting it to them, and despite the fact many of them acknowledge it can do exactly what they want it to, they’re often reticent to get started. Notion can be an intimidating platform, and while it’s simple once you get the hang of it, it’s learning curve is definitely above that of your standard app. So I thought I’d throw together a very fundamental introduction to it, as a way for the uninitiated to get an idea of how they can configure it to do essentially whatever they want. Once you’ve taken a look here, feel free to check out a few of my other how-to guides with some examples of things you can do with it.
Ultimately, whether you’re used to using apps like Todoist, Google Calendar, Notability, or even a physical notebook, they all do the same thing: Store and present data. The value of any information system isn’t just how easy it is to put information into it, but how easy it is to get that information out again. Keeping birthdays scattered throughout your notebooks isn’t useful, keeping them on a calendar is. If you add a birthday on Google Calendar, the application stores that information for you, and presents it to you legibly. Notion is exactly the same in this regard with one big difference, you have more control over how it stores and presents your data. If you set up your Notion pages wisely, you can do all sorts of different things with the same information, and the best part is you’ll only need to enter that information once. You’ll be able to turn your to-do list into a calendar, your calendar into a gallery, your gallery into a kanban board, you name it. I’ll show you how.
Opening Notion for the first time – The ‘Getting Started’ page:
When you open Notion for the first time, you’ll see something like this:
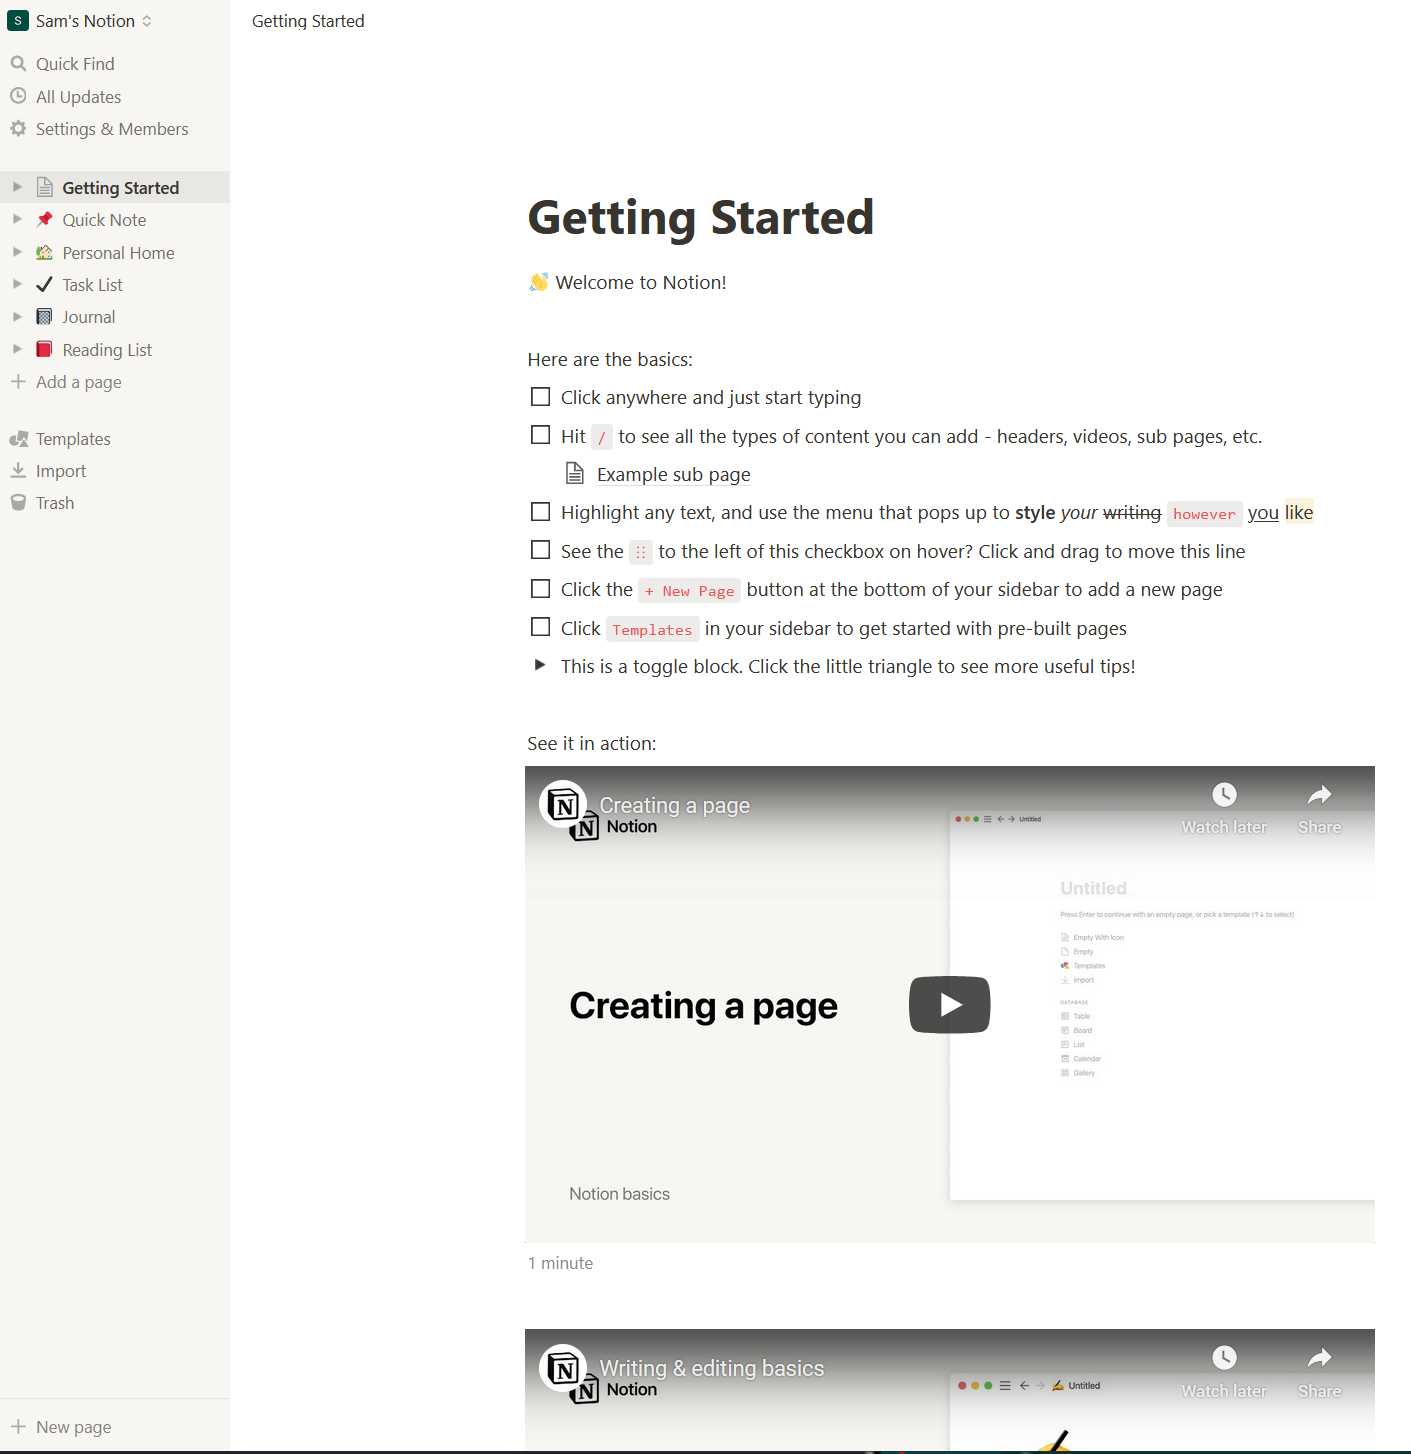
The Getting Started page is useful as a simple breakdown of what you can do, and there are some examples of templates along the left that perform a variety of functions. Playing around with this and following their video tutorials is an obvious first step, but let’s start with the “+ new page” button in the bottom left.
Creating a Database:

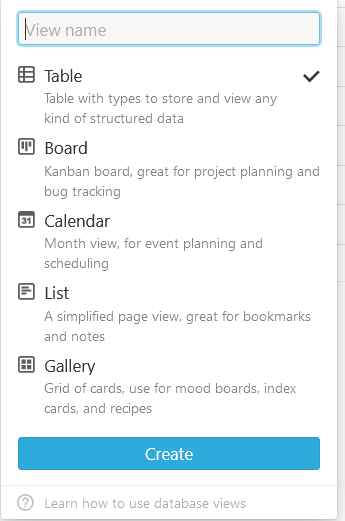
As you can see, there are ‘Database’ buttons with Table, Board, List, Calendar, and Gallery. I think many people see the word ‘Database’ and develop a bit of a cold sweat, but it really isn’t as bad as it might seem. Your database is simply where your data is stored – all apps have one, you simply have more control over yours. The ‘Table’ option looks quite like an excel spreadsheet, and this is the best place to configure your database starting out – don’t worry, you’ll be able to freely move between the other options once you’re set up, which is one of Notion’s biggest strengths. So let’s click ‘Table’ for now and see where it takes us.
Database Properties:
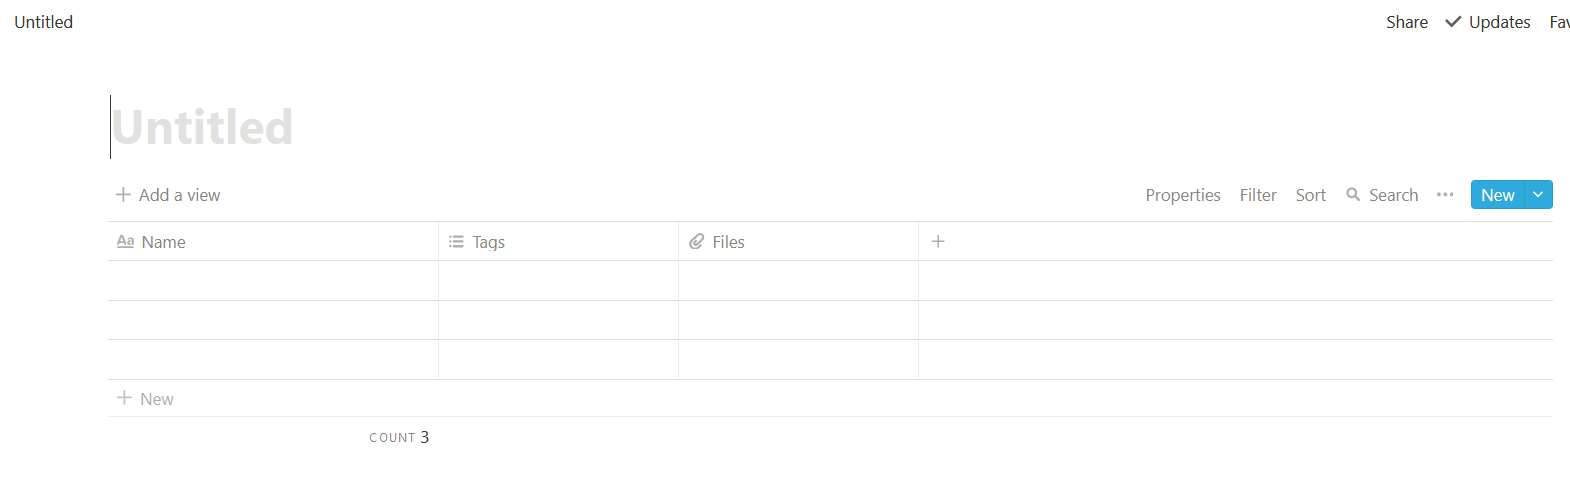
As you can see, you can title your database, and you have a few columns – Name, Tags, and Files. These are completely configurable – you can add, remove, and rename them at your leisure. You can click the “+” button next to ‘Files’ to add one, by selecting it and overing over ‘Property Type’
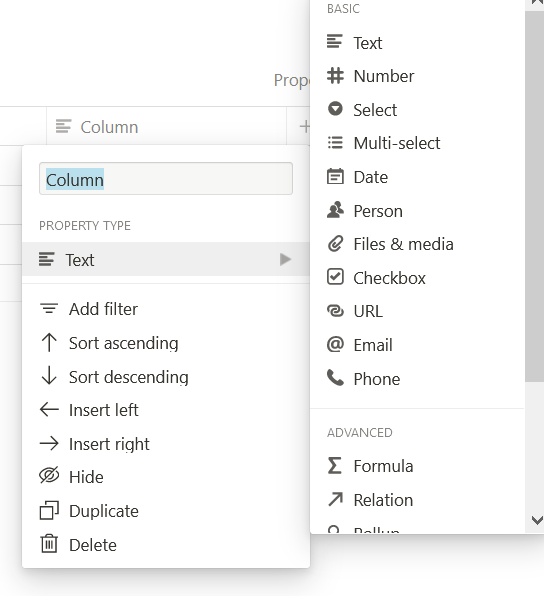
Let’s focus on the basic property types for now. You might wonder why you wouldn’t use ‘Text’ for everything, as it’s such a flexible property type that can store a lot of information. While you technically can, it’s clunky and will make it harder to manage your information in the future, as you’ll see when I start showing you what tags and dates can do. When setting up your database, you want to think about what properties will be important to you: A simple to-do list, for example, may want a ‘date’ field for when you want to do it, or perhaps a ‘Select’ field for its urgency. The select field is a simple drop-down selection, which allows only one selection, whereas multi-select allows as many selections as you want. Your ‘tags’ column, which came pre-generated with your database, already contains a multi-select field.
If you click on your ‘tags’ field, you’ll see this dialogue.

Let’s stick with our to-do list example. Say you wanted to have a tag for work, a tag for personal, and a tag for school. You could add those here, which would allow you to filter your to-do list to show you only work, personal, or school items. Your options are limitless, and you would even be able to filter on combinations of tags (Such as, perhaps, ‘School’ and ‘Work’ if you are taking a course for your work).

Views
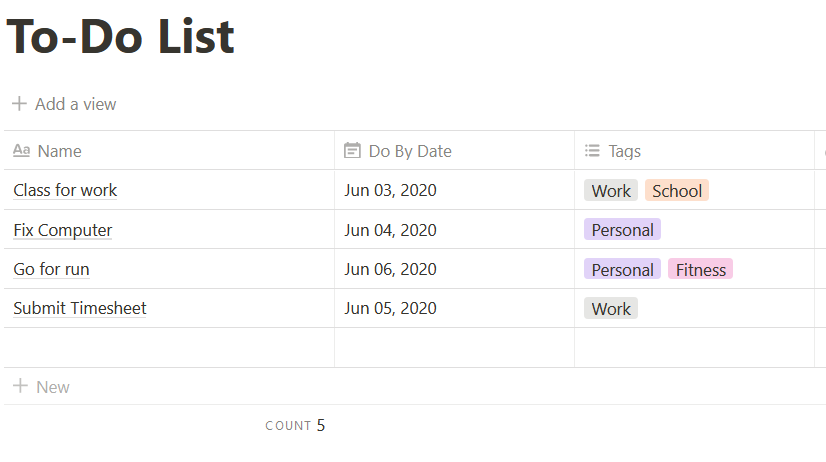
I said earlier that you could switch freely between Table, Board, List, Calendar, and Gallery. Let’s see this in action. I’ve populated our very simple to-do list with a few example values.
As you can see, there is a “+ Add a view” button above your table. Click that, and you’ll see the list of options.
Let’s click ‘Board’ first. This opens a Kanban board. As you see, it’s selected our tags and created a list for each – items with multiple tags ended up in multiple lists. This is handy to separate items by your criteria – it works quite well for single-select items, such as perhaps a priority, so that you can see a list of your highest priority items. It would also work for organizing items by person, or many other things. You can also drag and drop items between tags, which will swap their tag in its property.

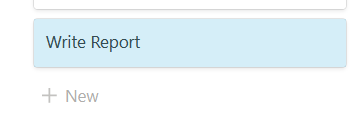
As you can see, it’s using the exact same information as was used in our ‘database’ view. Let’s click “+ New” under ‘Work’ to add an item. It gives you the option to enter text, I added ‘Write Report’
If you click on that, it opens a new window.

The properties should be familiar, they’re the ones you created in the database view. If you add a ‘do by’ date here, it’ll store that value in your database.
If you look underneath, where it says ‘Press Enter to continue with an empty page, or create a template’ you can add all sorts of information, such as, perhaps, your report, or all the notes for your report, or a link to your report, etc. You might also choose to attach your report when you are done in the ‘Files’ property. It’s worth noting that every single entry in your database has one of these pages, and it can be filled with whatever information you want, including more databases. If you type / you’ll see a list of ‘blocks’, which we’ll get to in greater detail later, along with a better description of templates, one of my favorite Notion features.
For now, let’s check out another view, the calendar view.

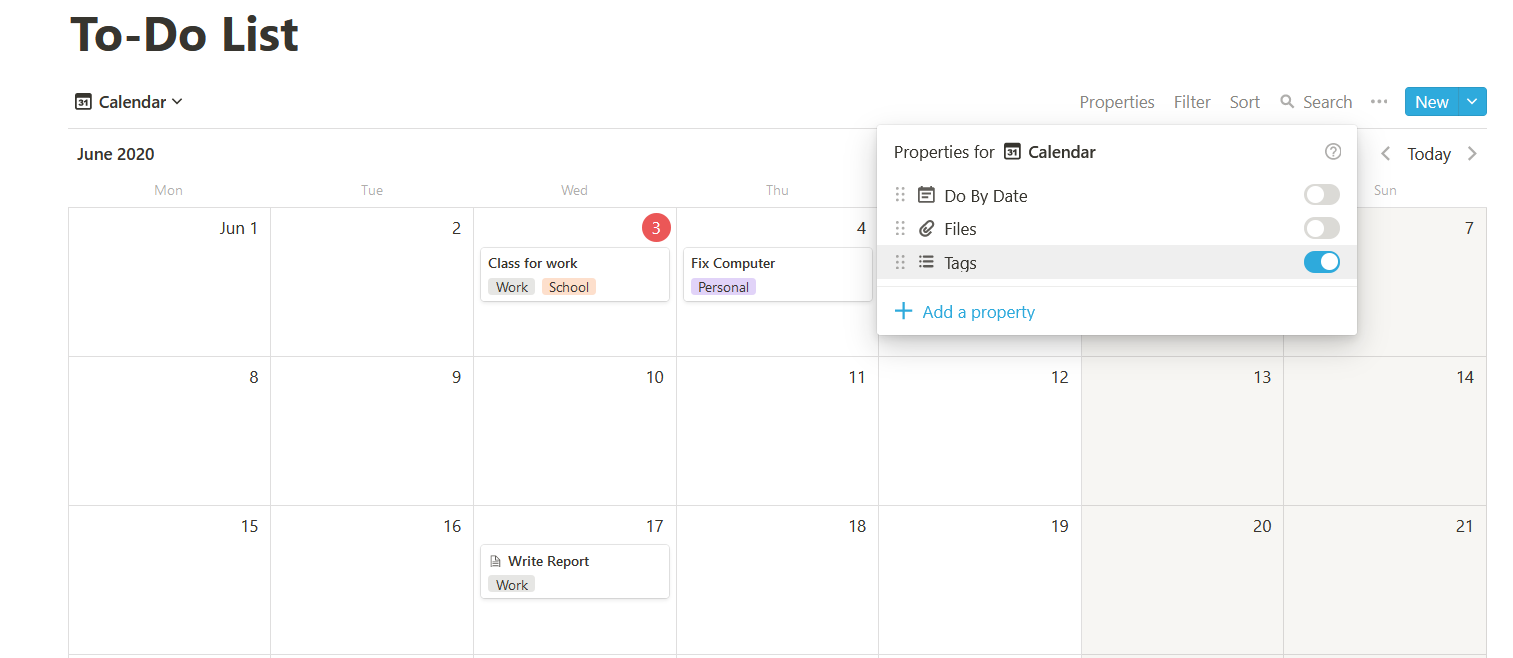
Now you’ll see that all of the information, including the ‘Write report’ we added in the ‘Board’ view, show up on the calendar. Say you want to see more information than just the title, such as the ‘tag’ you’d included – that can be done by selecting ‘Properties’ and ‘Tags’.
Like in your kanban view, you can drag items – in the calendar view, if you drag it to a new date, that will change the date value in your database to the new one.
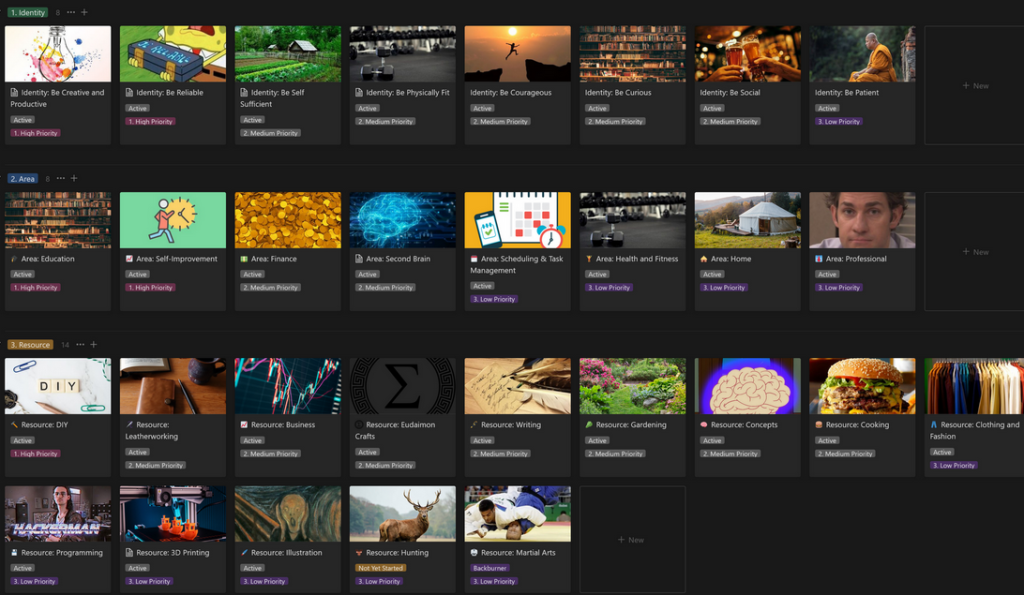
The list view goes without saying (it’s a list), but the Gallery view can be quite interesting, depending on what you’re storing. Initially, it will look like this.

Quite boring, isn’t it? But if we add an image within the page, that will display in the gallery view. If there is no image, it will show some of the text entered.

I’ve used this gallery view for an art gallery (and made a tutorial on how to do that here), including tags and names of artists, and links to their social media platforms or websites. When paired with the Notion web-clipper (more on that later), it’s a very handy view. As before, you can customize what properties are visible.
Filters:
If your database gets big and complex, filters will be your best friend. The magic of a well set-up database is that even if you have thousands of entries and a lot of properties, a few judiciously used filters will narrow your search to what you need. Let’s add a filter to our gallery to show only items for ‘Work’.

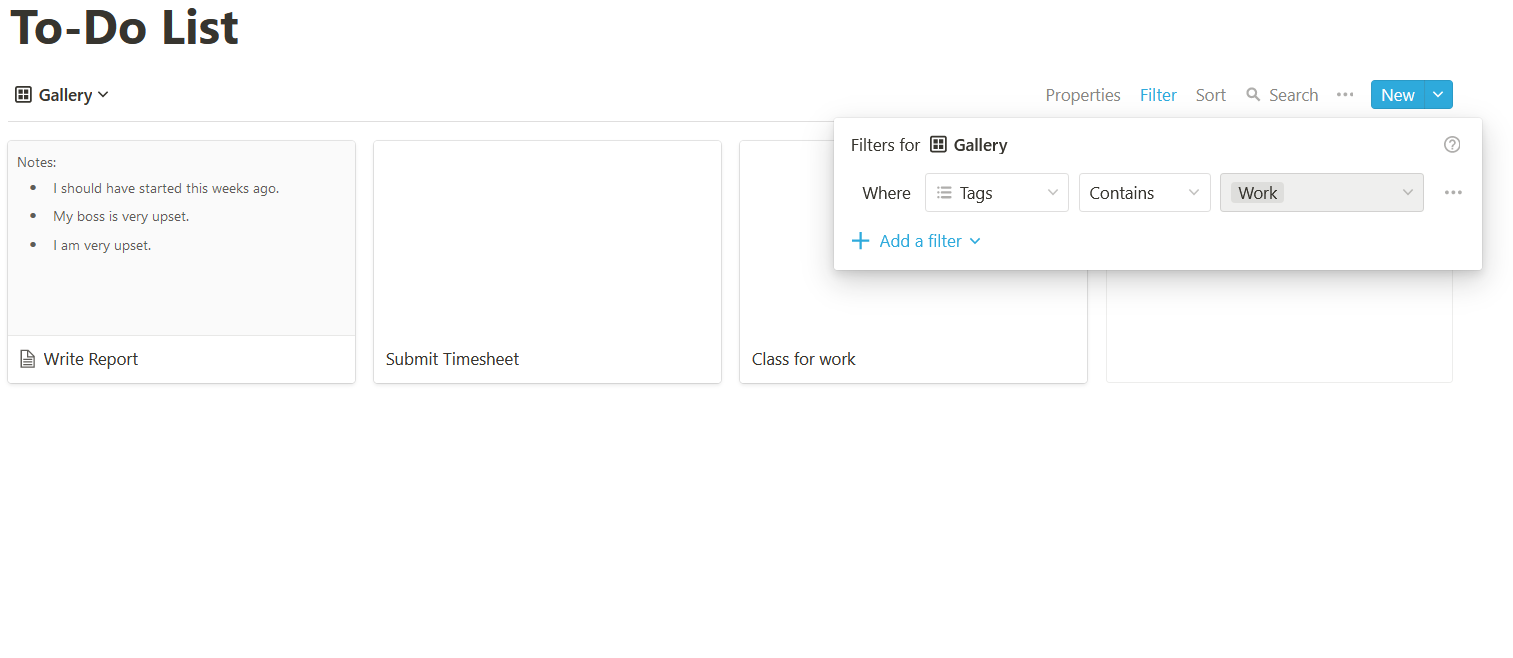
As you can see, this has filtered out all of the other items. Now, something of note about filters is that they’re tied to your view. You can have as many views as you want, each set up to as many filters as you want. So, for example, if you wanted a calendar view that showed only items tagged school you could do that. If you wanted a list of everything coming up in the next week, you could do that. If you want a list of everything EXCEPT personal items, you could do that. Filters are a godsend for managing information, and means you can store a lot of information in one database without anything getting lost.
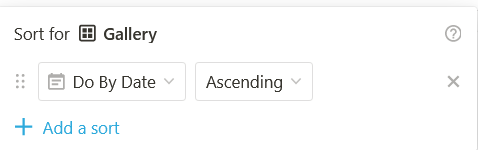
Next to the filter is ‘Sort’, which, as you might suppose, sorts your data. Say you want the items due first to come first, you can do that. Or if you want the list alphabetical, or by tag. All doable via the sort function. You can add additional sorts, so an item might sort first by date, then by tag, or vice versa.
Blocks & Templates.
So you’ve got your properties you want and your views, let’s next look at the ‘pages’ you get whenever you click on an item in your database:

As we saw earlier, you can enter text into the area beneath ‘Add a comment’, but you can also add blocks and templates. Let’s click on ‘Create a template’.

We now have a blank page. Let’s say this is a ‘Timesheet’ template. I know that a timesheet is always going to be for work, so I add the ‘Work’ tag. I then navigated down and added some blocks (type the / key to see what kinds of blocks you can create). Lastly I created a ‘table’ and generated a list of charge codes – you can be more sophisticated than this with linked databases, but let’s keep it simple for now.

So, we just made a template. Now, if I go back to my old ‘timesheet’ I made earlier, or create a new item, I’ll see this.
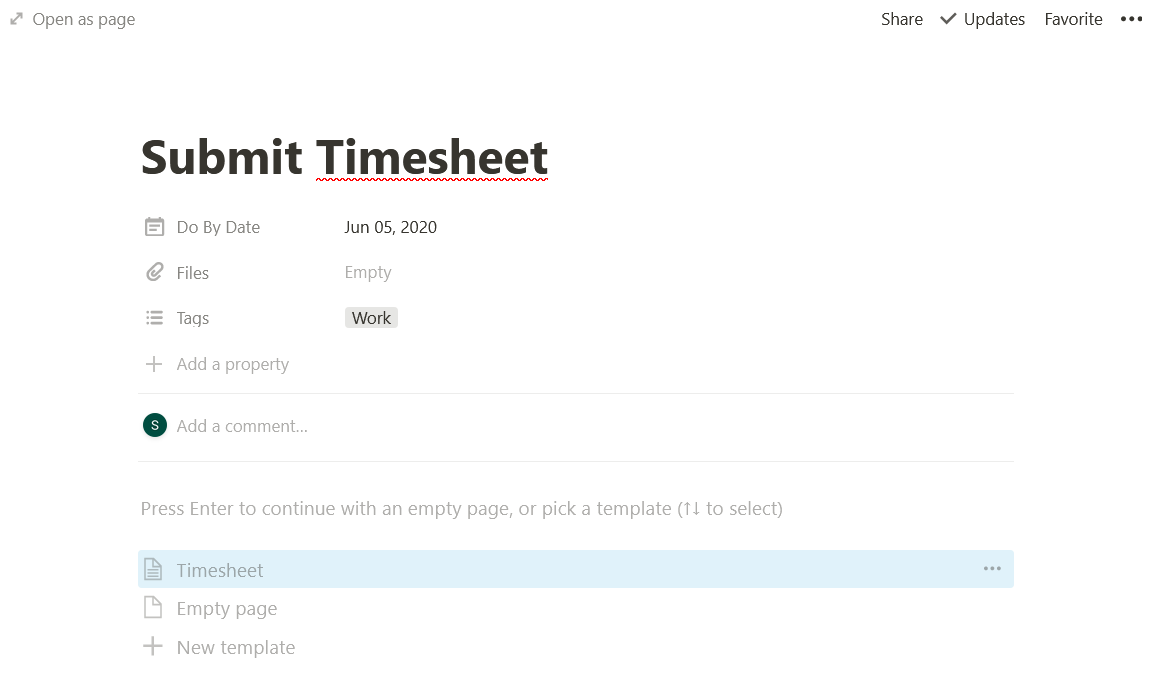
If I click ‘Timesheet’, it will automatically generate everything I put into that template.

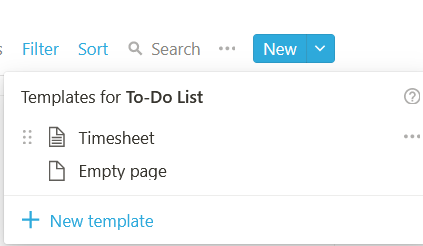
This works wonders for a number of things. Grocery lists, course notes, any routine task. You can also go to ‘New’ to create a new page from a template, or make new templates.
Web-Clipper
One last thing I’d like to comment on is the web-clipper, because it’s fantastic. It’s a browser extension that will save a page to a database of your choosing – it will save the hyperlink and then embed the page into the body. This is great for, say, adding articles to your reading list, or adding images to your gallery. Let’s try adding another of my Notion tutorials to my to-do list.

Having saved it, it took my article, and saved it into Notion, including adding a ‘URL’ property with the source link. As you can see, it even included images.
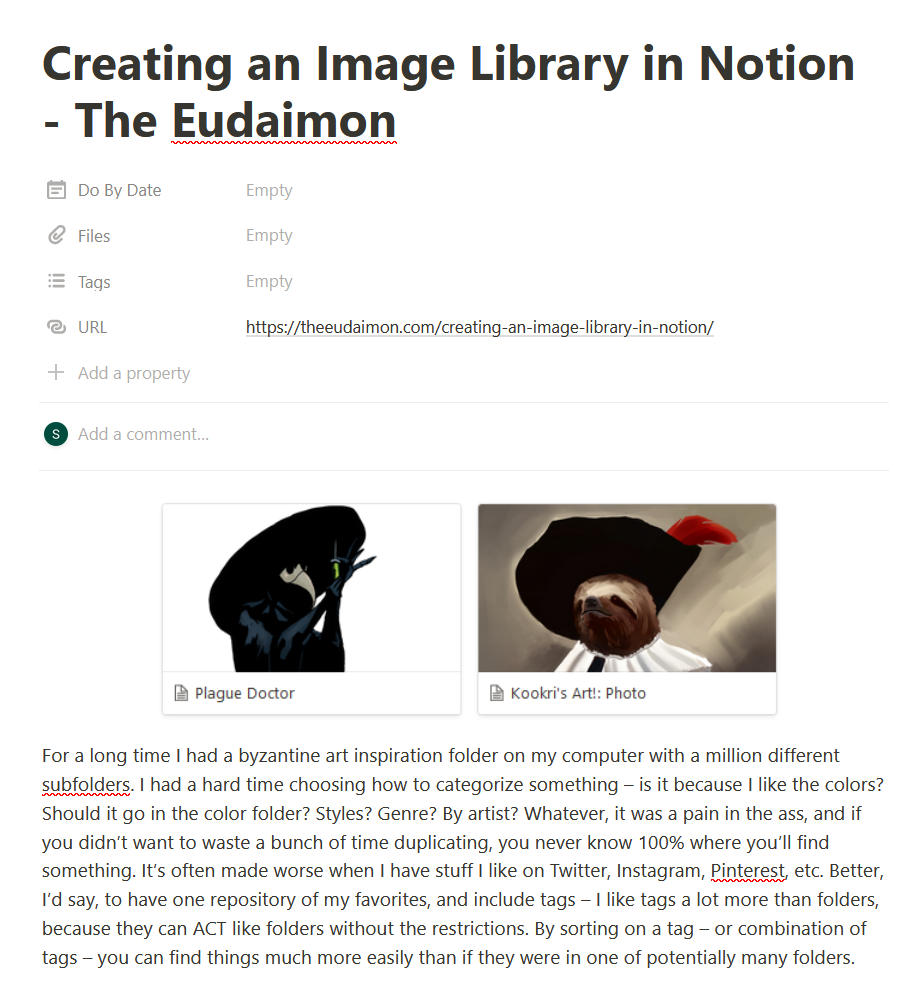
Pretty neat, huh? I could perhaps add the ‘Article’ tag, or ‘To-Read’, or however you’d want to organize your data.
Conclusion
This is just a surface level introduction to what you can do in Notion – some of its more advanced features like formulae and linked databases are extremely powerful, and the more creative you get with it the cooler things you can do. I use it for my to-do list, to keep track of all the books I’ve read, my grocery list, my journal, my fitness tracking, image galleries, quotes, even a wish-list of items I want. Still, I won’t get into those today, as I want this tutorial to be a valid introduction for beginners who may not be inclined to get into the nitty-gritty.
If you want to take a look at my ‘Second Brain’ Notion system, I have a post on that here.
Pingback: How to Build a Second Brain in Notion - The Eudaimon